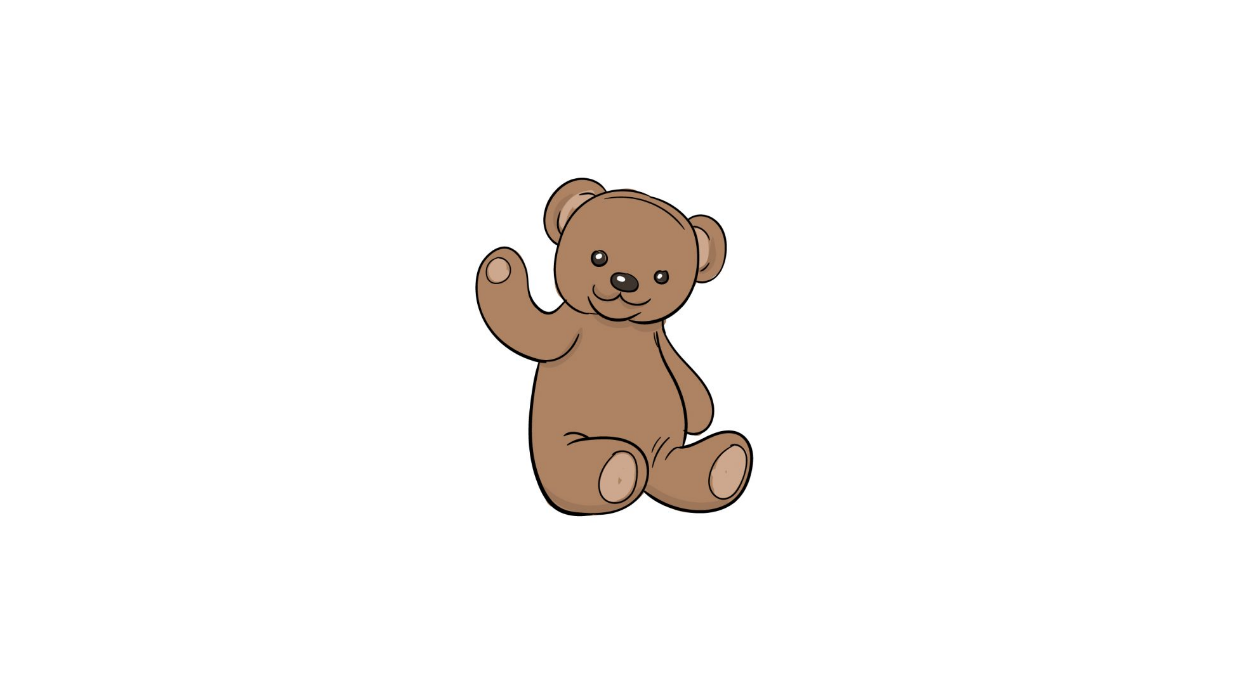
How to Draw A Teddy Bear. Many of us held a special teddy bear as children. What might seem like stuffed stuff to others would be a companion and source of comfort to the owner of this bear.
Each teddy bear would look different, but each would convey a similar happiness to the person.
Because owning a teddy bear is a universal joy, they have been featured in many popular films, books, and more.
People often want to learn how to draw a teddy bear, which makes a guide like this very useful!
How to Draw A Teddy Bear
Step 1
To begin this tutorial on how to draw a teddy bear, let’s start with the teddy bear’s head.
To do this, you can use a long, curved line for the top of the head and then a smaller, curved line at the bottom for the teddy bear’s chin.
Once you have this outline of the head ready, we can move on to the next step!
Step 2
Your teddy bear design needs nice round ears, so let’s add some in this step. This will be a fairly easy step, as you must draw some curved, rounded lines across the top of the head.
They may seem simple now, but we’ll add some details later.
Step 3
As you can see in our reference image showing the final product, this teddy bear will have a cute hand waving at him.
For the arm, please start at the line of the head and then curve up and down as it appears in the reference image.
It’s a simple shape but effective in creating arm movement, as you’ll discover as you draw!
Step 4
Your teddy bear needs a body, so in this step of our tutorial on how to draw a teddy bear, let’s start drawing one.
For the bear’s back, you can use a simple curved line coming down from the waving arm you drew in the previous step.
Then you can use a rounded line for the arm that runs down the right side of the head and another line under the arm for the teddy bear’s belly.
Step 5
The teddy bear has thick, rounded legs that are also quite short, so we’ll draw them for your teddy bear design.
Just draw some rounded lines from the bear’s body and out horizontally to show that the bear is sitting. That’s all there is to this step!
Step 6
This step will add some details to your teddy bear drawing. For now, let’s draw pads on your teddy bear’s limbs.
To do this, draw circles and ovals on the ends of the arms and the soles of the feet.
Step 7
Before we draw your teddy bear’s face, let’s add some simple line detail to give it more structure.
As you can see in the reference image, we added two small lines near the leg to create the creases in the teddy bear’s fabric. You can add more lines if you want more detail for your bear!
Something is missing from this teddy bear, and it should be obvious what it is!
The bear needs a face, so let’s draw one for this step of our tutorial on how to draw a teddy bear.
Step 8
Something is missing from this teddy bear, and it should be obvious what it is!
The bear needs a face, so let’s draw one for this step of our tutorial on how to draw a teddy bear.
Drawing the face is easy enough, as all you need are the following:
- Two small circles for the eyes.
- A small oval for the nose.
- Some curved lines for a smiling mouth.
You can add some finishing touches, like lines on the head and ears, to add more detail to the folds.
For this final step in drawing your teddy bear, it’s time to finish with some coloring. This is a step where you can show off your creativity and style!
There are many different colors, patterns, and effects that you can add to your design using only paint and artistic means.
If you’ve ever had a beloved teddy bear, you could color it to look like him!
Step 9
For this final step in drawing your teddy bear, it’s time to finish with some coloring. This is a step where you can show off your creativity and style!
There are many different colors, patterns, and effects that you can add to your design using only paint and artistic means.
If you’ve ever had a beloved teddy bear, you could color it to look like him!
If you are depicting a real teddy bear that you had, it would be fun to write and color his name so we can see him underneath!
Your Teddy Bear Drawing is Finished!


